 , on the tool bar of the Incident Report page. All administrators have permission to create an internal report. An investigator has permission to create an internal report when their 'Add Reports' access permission is enabled.
The Lighthouse Case Management System allows a company to enter their own internal reports by selecting the Add icon, , on the tool bar of the Incident Report page. All administrators have permission to create an internal report. An investigator has permission to create an internal report when their 'Add Reports' access permission is enabled.
To add an internal report, select the Add page toolbar icon, .
Note: the CMS will "time-out" if the "add new incident report" page is left open for a default period of 30 minutes. This time period can be changed by your CMS administrator. If your information is not saved before the page times out, you will lose your work and your internal incident report will not be created. We suggest you compose any lengthy incident reports in a text document first, then cut and paste into the incident report field.
 to edit information as needed
 to view the report information
 to attach additional documentation (uploaded files) to the report
 to assign a user as an investigator to the incident report
Editing an Internal Report
Most of the fields on an internal report can be changed by an investigator or an administrator with the exception of the 'protected fields', which are: Case Number, Date Reported, Report, Follow Up, and Outcome. Only an administrator (or user with appropriate access permission) can edit these protected fields and that process is described below. Only and administrator user can restrict/un-restrict an internal report and choose restricted users.
Edit Protected fields
The Edit Protected Fields button on the Edit Incident Report page is enabled on an Internal Report. To change the Case Number, Date Reported, Report, Follow Up and Outcome fields for an Internal Report, the Edit Protected Field button must be selected. After clicking the Edit Protected Fields button, the following page is displayed.
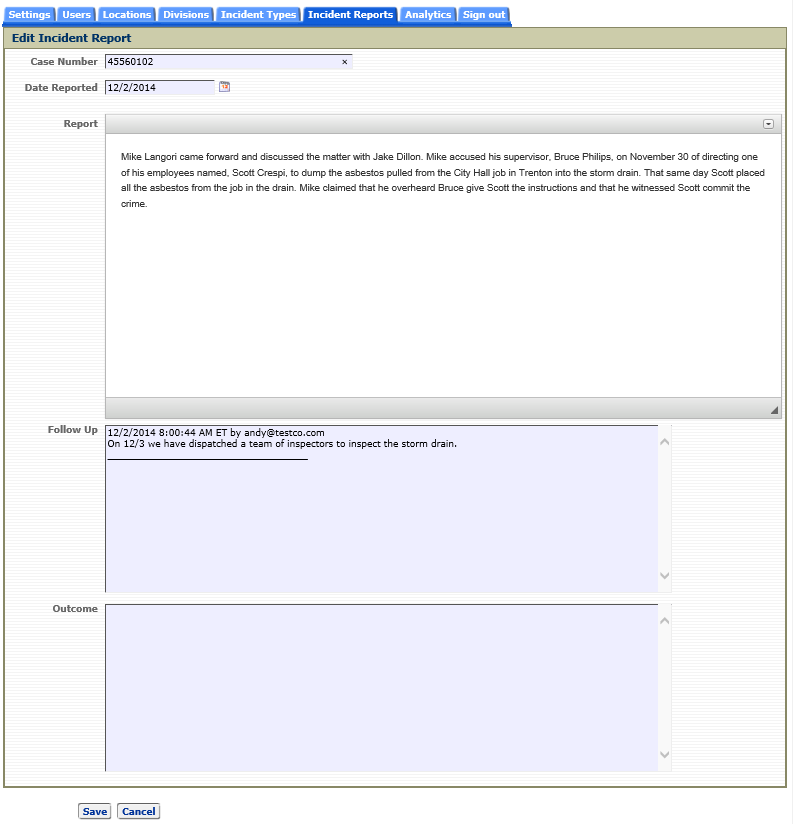
Editing the protected fields on this page and clicking the Save button will save the changes made. Clicking the Cancel button will discard any changes made.
Deleting an Internal Report