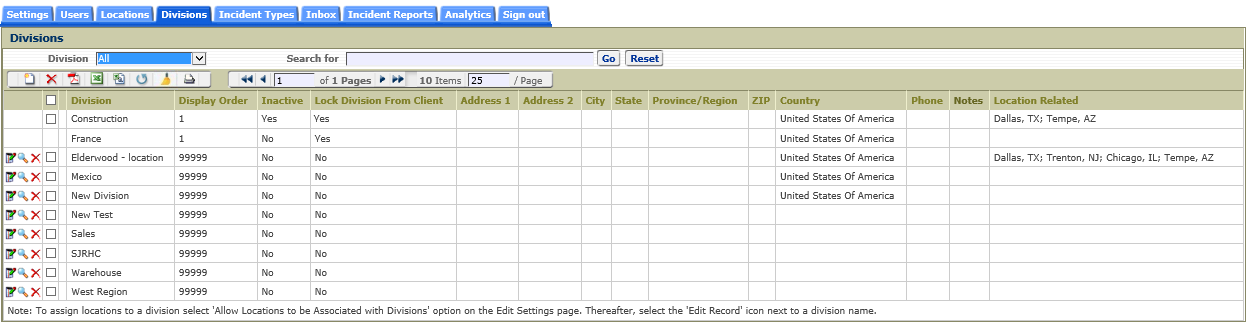
Divisions Tab
The Divisions tab is where administrators or users with Add/Edit Division permission may add divisions/subsidiaries for their organization. A user with only View Division permission can access the Divisions tab but cannot make any changes to the company's Divisions. Assigning a divisions allows easy categorization of reports when searching, sorting, or filtering reports.
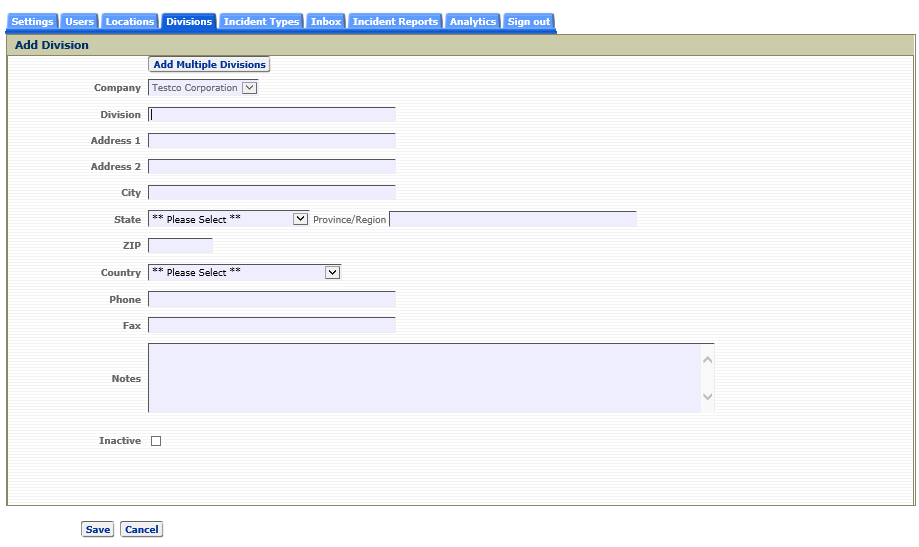
Adding a new division is quick and easy. First click the Divisions tab, then:
 , and the Add Division page will open.
You cannot add a division name that already exists in the CMS.
Note: You must continue to inform Lighthouse Services of any new DBA's via email to keep our database up-to-date.
Use the edit feature if you need to make any changes to a Division or if there is information that you need to add.
To edit an existing division, click the Divisions tab, then:
 , and the Edit Division page will open.
You cannot change the name of the division to a division name that already exists in the CMS.
If you wish to assign the new division to an incident report:
Go to the Incident Reports tab.
, for a specific incident report. Inactive Division
A division can be made inactive by checking the Inactive checkbox. This would prevent that division from being listed in the Division dropdown field on the Add/Edit Incident Report pages. Inactive divisions cannot be included in a new auto-assignment rule.
Deleting a Division
Delete a division by clicking the delete icon,  , in the row of the division you wish to delete. After you click on the deletion record icon you will need to confirm the deletion. A division can only be deleted if it's not referenced on any reports in the CMS.
Adding Multiple Divisions
Multiple divisions can be added quickly by clicking on the 'Add Multiple Divisions' button on the 'Add Division' page shown below.
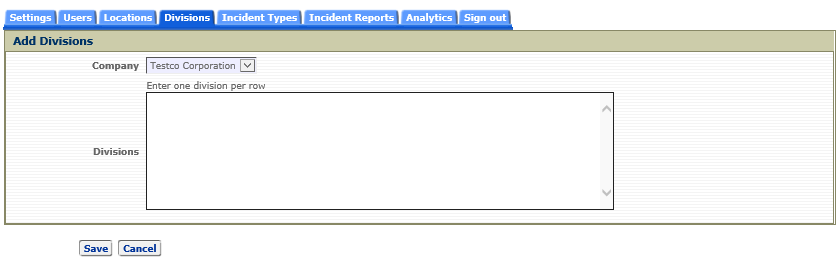
Clicking on the 'Add Multiple Divisions' button opens the 'Add Divisions' page shown below. Each division should be entered on a separate line. Any division entered that already exists will be ignored when saving. To fill in specific details for each division, use the Edit Record icon on the row of the desired division on the Divisions page.
Associating Locations to a Division
When the option 'Allow Locations to be Associated with Divisions' is enabled on the Edit Setting page, the Add/Edit Division pages will include a section that provides the user with the ability to associate certain locations to that division. When locations are associated to a division, those locations will be shown in the Location dropdown list on the Add/Edit Incident Report page when that specific division is selected on that page. The Add Division page including the Locations list is shown below.
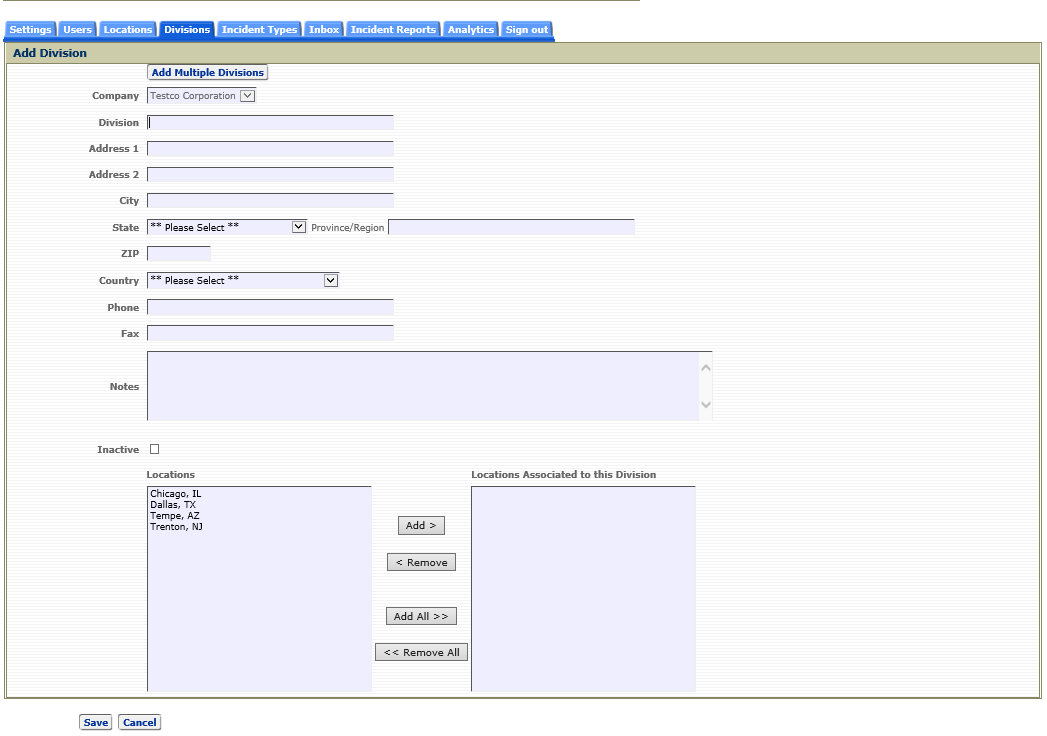
To associate a location to a division, click the location in the Locations list box and then click the 'Add>' button. To associate all locations listed in the Locations list box to the division, click the 'Add All>>' button. To remove an associated location from this division, select the location in the Location Associated to this Division list box and click the '< Remove' button. To remove all associated locations from this division, click the '<< Remove All' button.
Click the 'Save' button to save all of the changes for the division.